This article has been updated in November 2023.
Get started with Injective, the fastest layer 1 blockchain optimized for DeFi applications, by creating an Injective Wallet.
What Is An Injective Wallet?
An Injective Wallet serves as the essential tool for engaging with Injective and the applications built on top of its network. With the Injective Wallet, you gain the ability to effortlessly oversee and utilize both native tokens on the Injective platform and bridged assets sourced from supported networks, including Ethereum, Polkadot, Solana, and various IBC-enabled chains, with full ownership.
The Injective Wallet is automatically created once you connect your preferred non-custodial wallet (i.e. Keplr, MetaMask, Ledger, Ninji, etc.) to the Injective chain. Additionally, you have the flexibility to import your Injective wallet address to various compatible non-custodial wallets, ensuring seamless connectivity across multiple wallets. This versatility enables you to maintain access to your assets across different platforms effortlessly.
How To Create an Injective Wallet
Creating an Injective Wallet is very easy and only requires two steps.
- Download a non-custodial crypto wallet
- Connect your wallet to Injective via the Injective Hub
Step 1: Download a crypto wallet
The first step to creating an Injective Wallet is to download a non-custodial crypto wallet that is compatible with Injective. Currently, Injective supports MetaMask, Ninji, Keplr, Ledger, Trezor, Torus, Leap and Cosmostation.
Step 2: Connect your wallet to Injective
For the purpose of this tutorial, we will use MetaMask, Ledger, Ninji, Keplr, Leap, Cosmostation, Torus, and Trezor as wallet connectors.
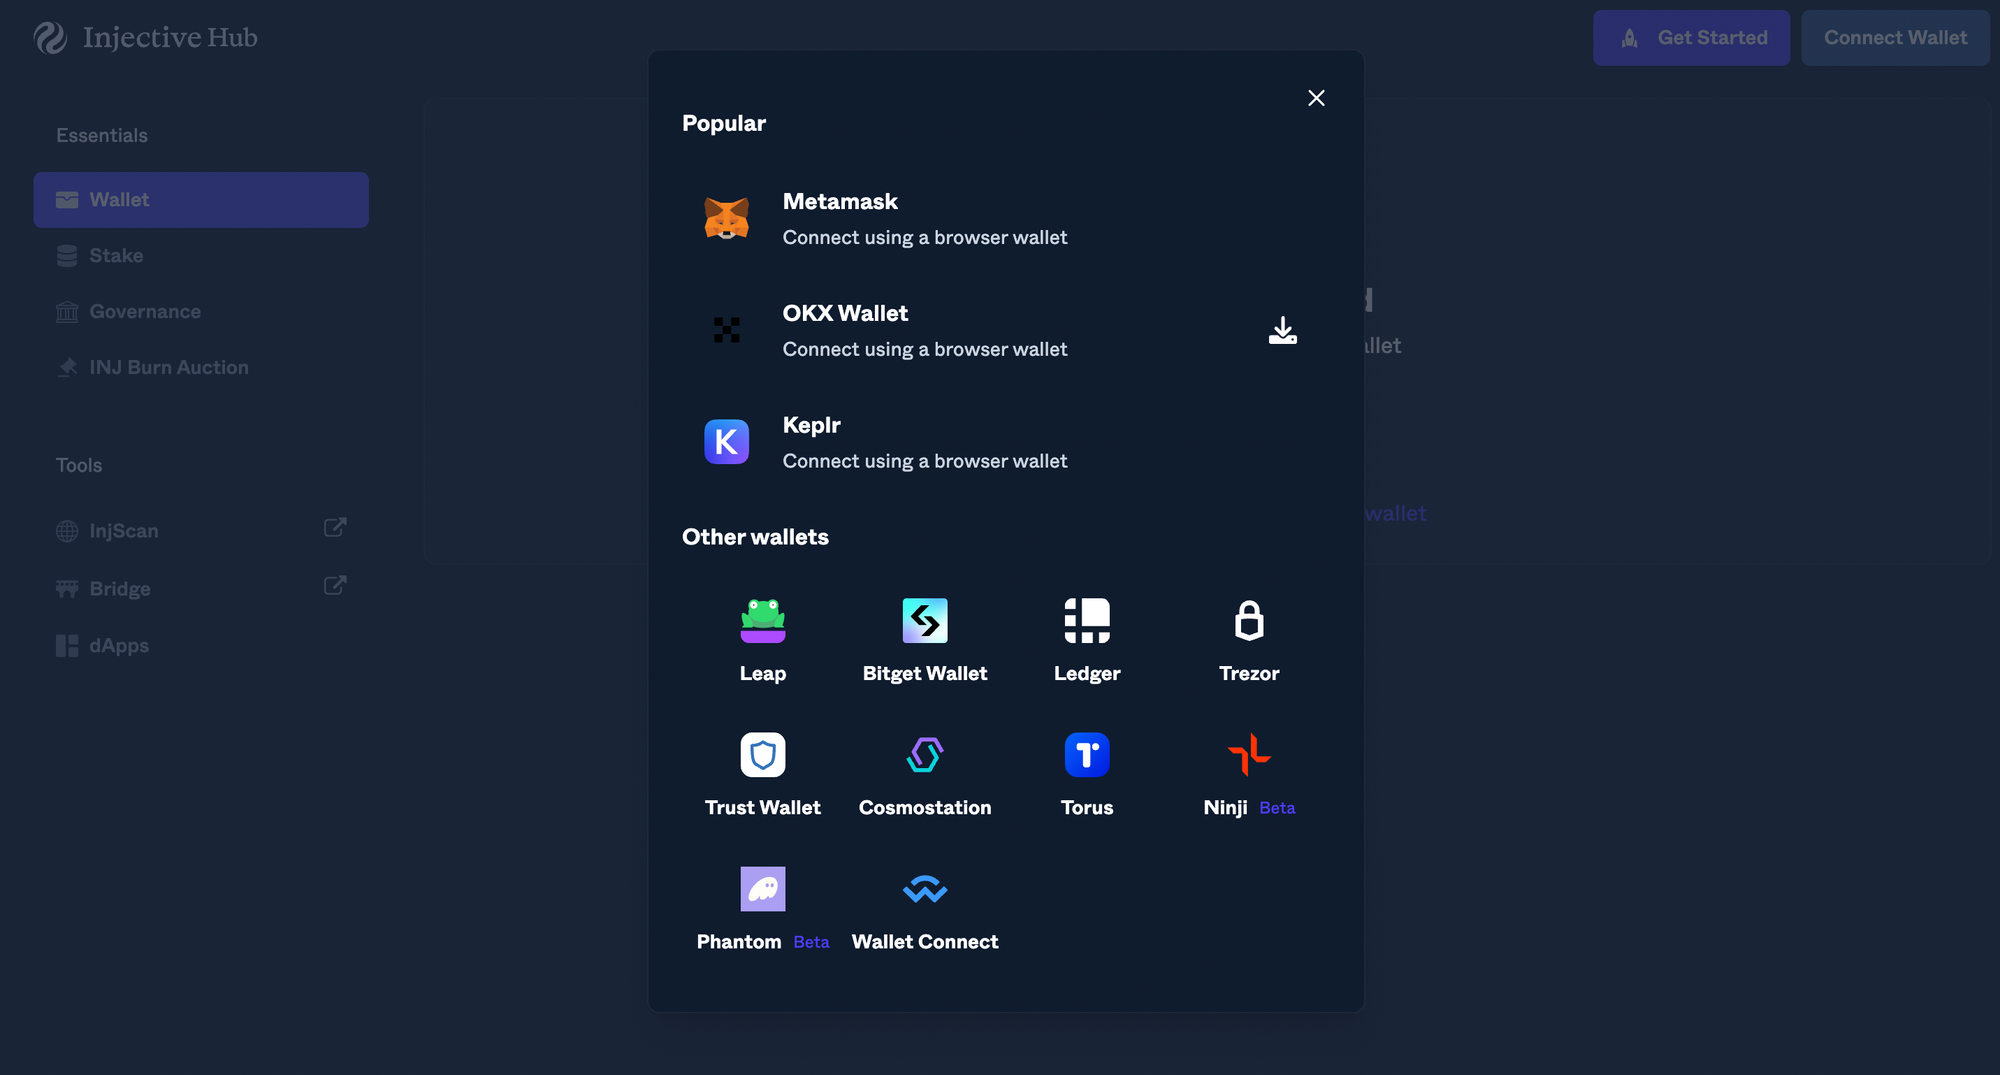
Go to Injective Hub, which is the all-in-one platform and gateway that allows you to interact with Injective.

Click “Connect” on the top-right corner. It will pop up a list of supported wallets for you to choose from. Next to each hot wallet, or wallet that is always connected to the internet, you will see the download button which directs you to the download page.
To connect to Injective with MetaMask
MetaMask is the leading self-custodial wallet with millions of users worldwide. It allows users to access Ethereum wallet through a browser extension or mobile app.
Click MetaMask to connect. Once you connect, an INJ wallet address will automatically be assigned to your crypto wallet. You can find the address starting with “inj” on the top right of the page.
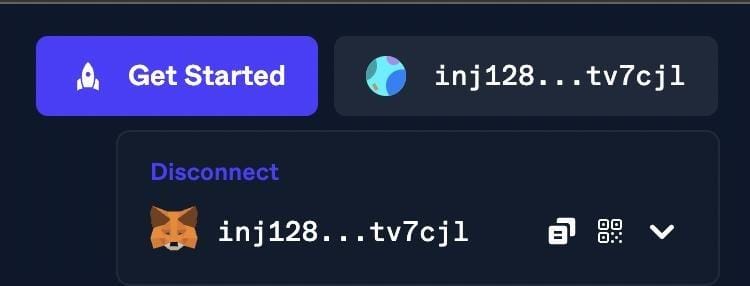
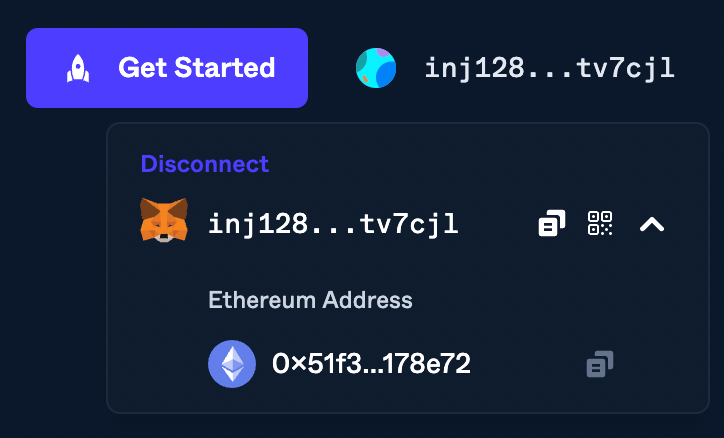
Click the arrow on the right side to expand and view the equivalent address in Ethereum. The “Disconnect” option is also found here.
To connect to Injective with Ninji
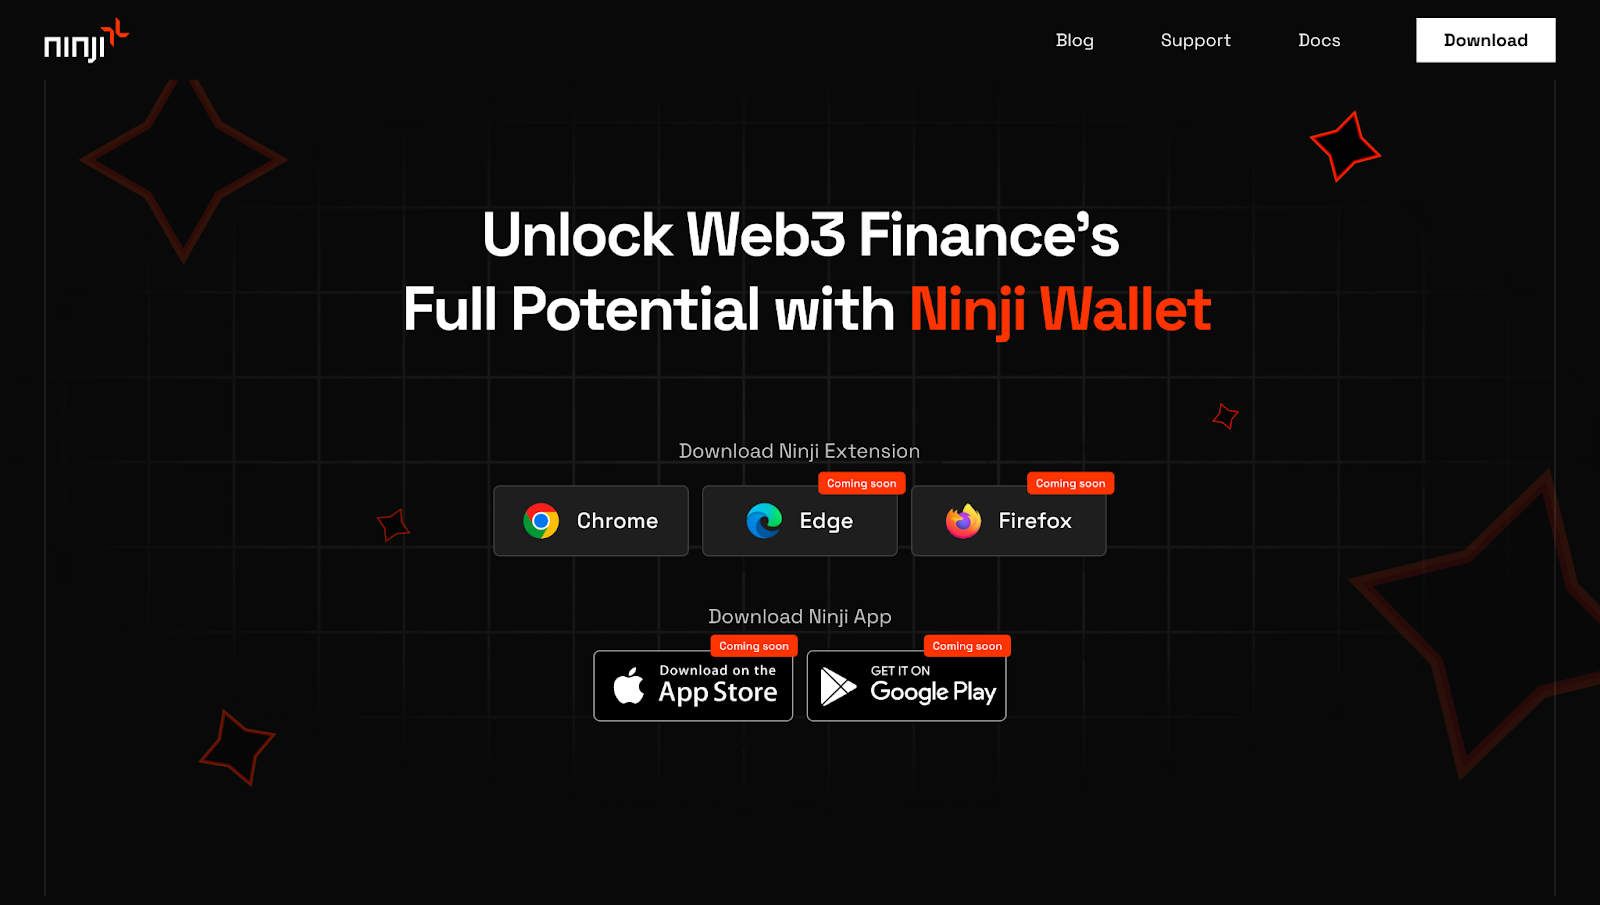
Ninji Wallet is an agile crypto wallet, built exclusively for the Injective ecosystem. It is designed to simplify users’ experience when exploring Injective.
With Ninji Wallet, users can seamlessly send and receive assets, efficiently maximize crypto gains with Ninji’s in-wallet staking, and effortlessly secure your privacy and security.
You will see the download button next to Ninji. Click it and it will direct you to the download page.
Once you have Ninji installed, get started by either creating a new wallet with your own new passphrase, or restoring a wallet by importing existing passphrase.

After the wallet setup, you will be able to connect Ninji Wallet on Injective Hub, as well as other dApps built on Injective.
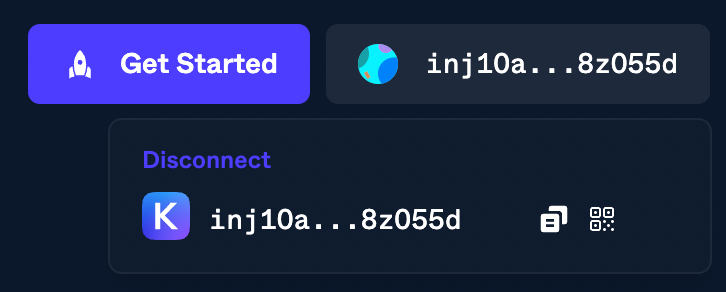
To connect to Injective with Keplr
Keplr is the first and leading non-custodial crypto wallet built to support the IBC and the Cosmos ecosystem.
Following similar steps for other Cosmos wallets include Keplr, Leap and Cosmostation. Once connected, you can view your Injecitve wallet address on the top right corner.
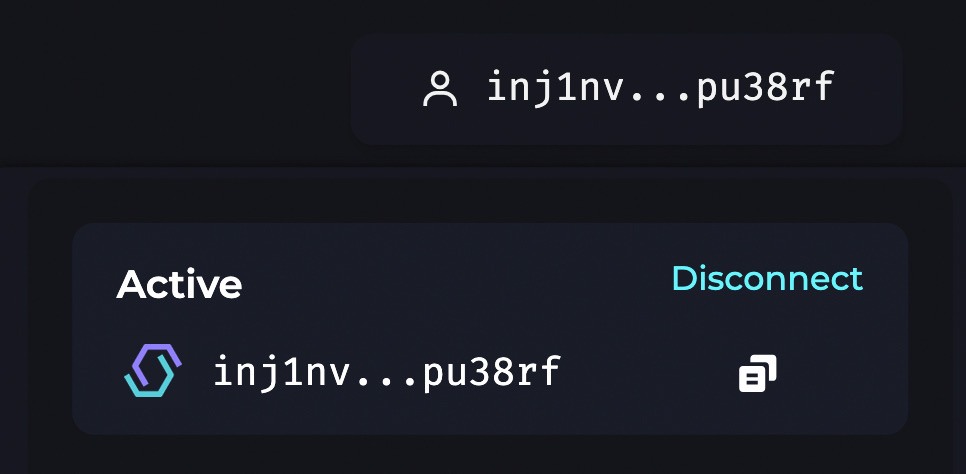
To connect to Injective with Leap
Leap is the crypto wallet for Cosmos blockchains, offering seamless exploration of multiple chains, asset transfers, staking rewards, etc.
To connect to Injective with Cosmostation
Cosmostation is a non-custodial wallet for Cosmos SDK-based chains powered by Cosmostation, a Cosmos validator and ecosystem provider.
To connect to Injective with Ledger
Ledger is a hardware wallet in which you store your private keys in a secure, offline environment. A hardware wallet can potentially provide further security for users, as it can enable users to manage crypto assets without exposing any sensitive information to a potentially compromised computer or network.
Before connecting your Ledger device to Injective Hub, please ensure the latest version of the Ethereum app is installed, and ensure blind signing is enabled on the Ethereum app.
Click connect Ledger. Select the default option “Ledger Live” when the derivation path pop-up appears, then select “Get addresses”.
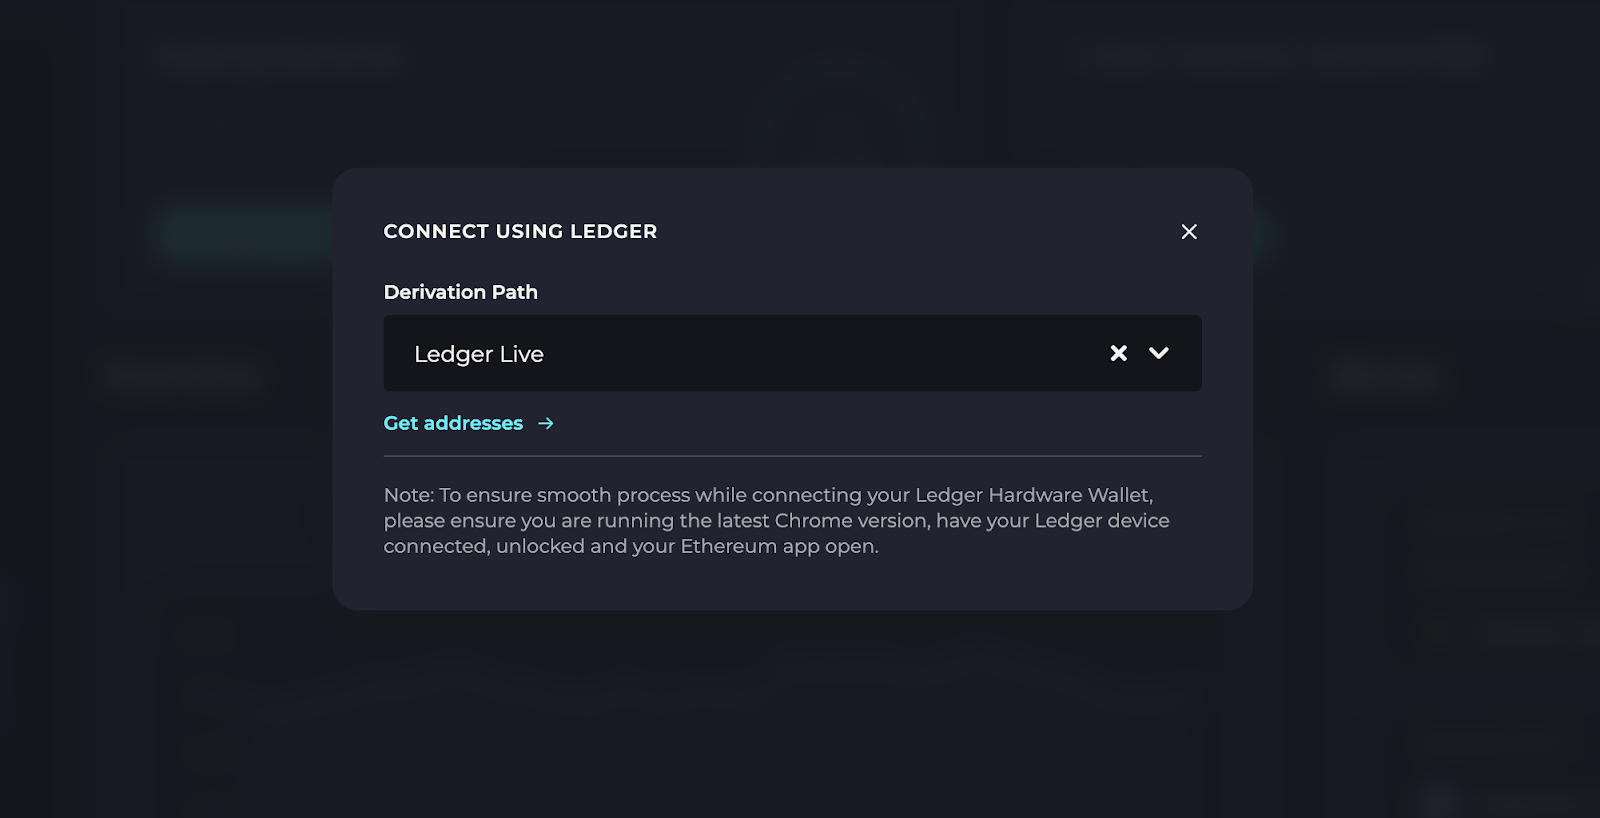
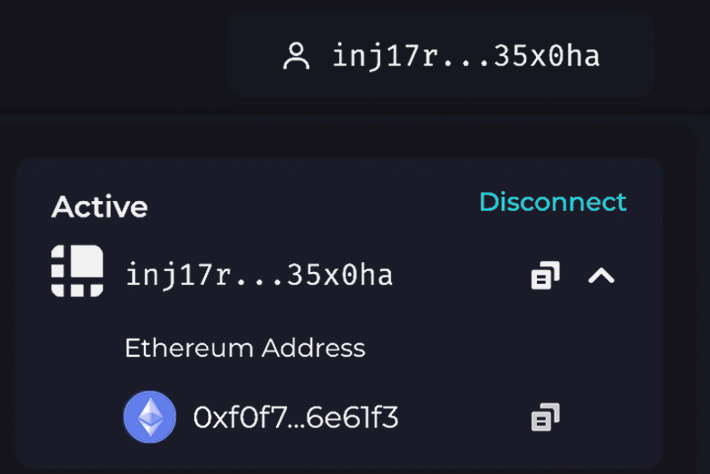
A drop-down with your Ledger Live ETH address will appear. Ensure the address matching your Ledger Live ETH account is selected, then click “Connect”. Once connected to the Injective Hub, a newly created INJ address will appear in the top right corner.
For more detailed steps, please check this guide on Ledger Docs.
To connect to Injective with Torus
Torus is a non-custodial wallet created by Web3Auth that allows users to create their own wallets easily with their Google, Facebook, Twitter, Discord or email addresses eliminating the need for seed phrases.
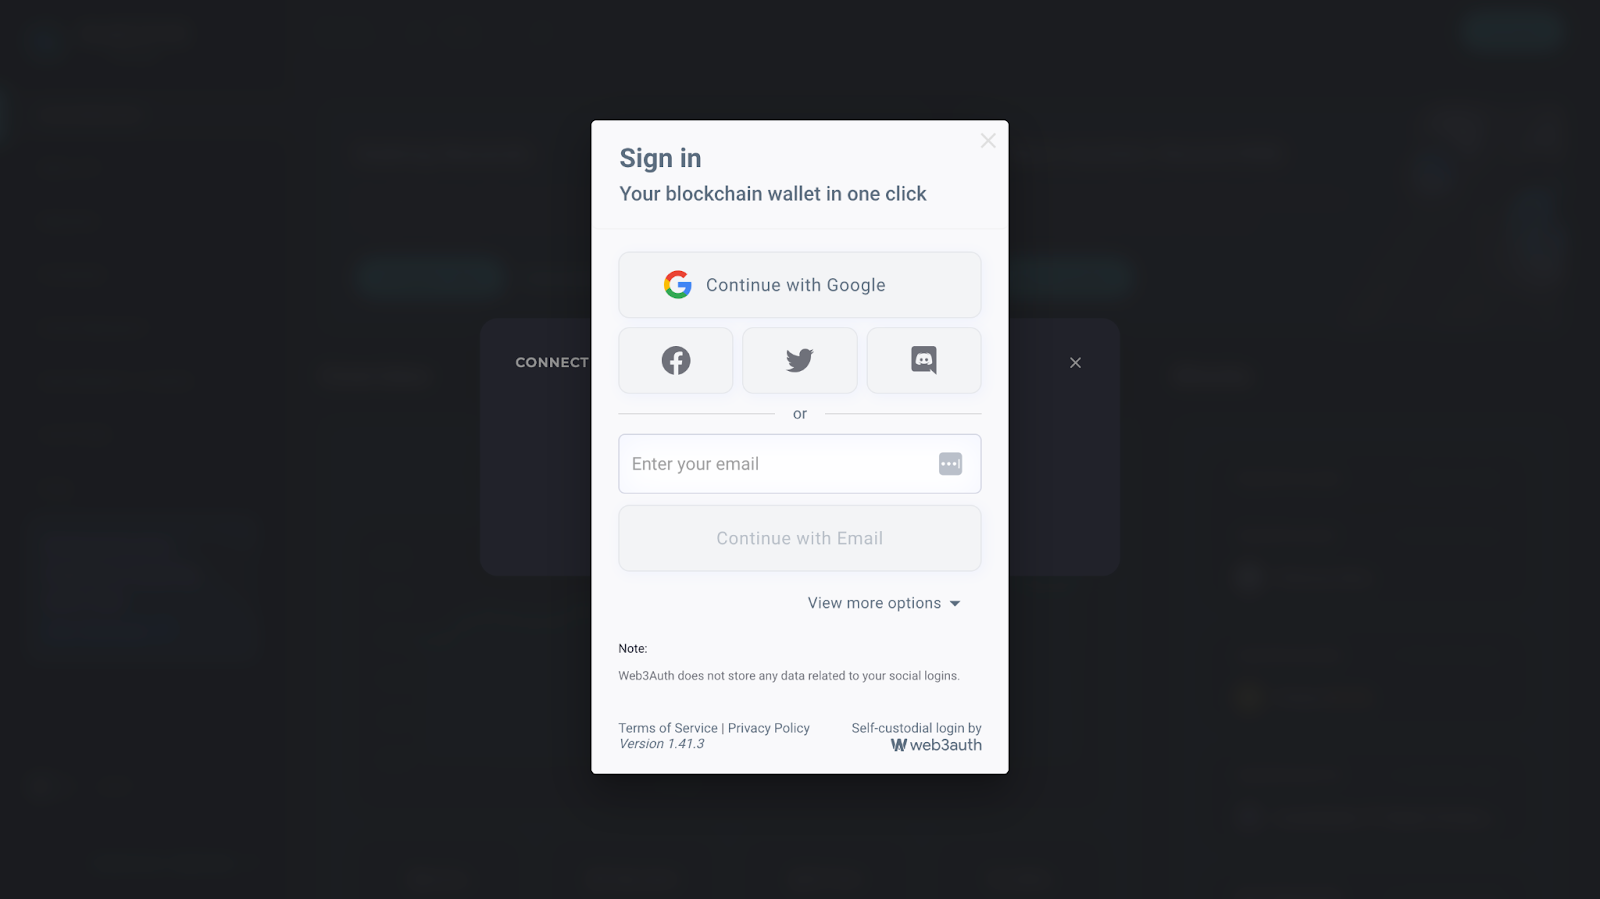
Select your preferred social account to login and get your Injective wallet address.

To connect to Injective with Trezor
Similar to Ledger, Trezor is also a hardware wallet that allows users to store their crypto assets.
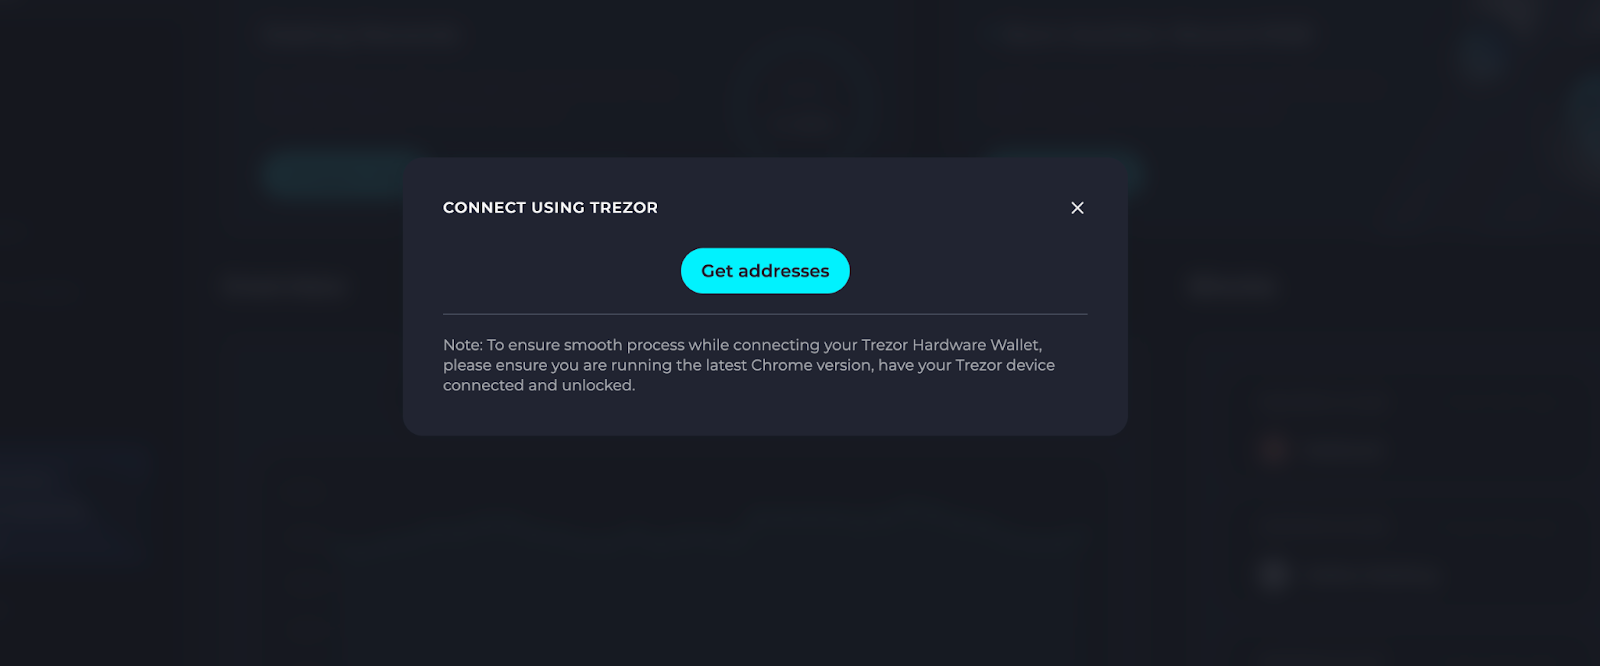
Before connecting your Trezor to Injective Hub, please ensure you are running on the latest Chrome version, have your Trezor device connected and unlocked, and have the Trezor Bridge installed on your device.
Click connect Trezor, then click “Get addresses”.
Then you are going to see the following screen. Click on “Find Trezor” and confirm on the popup on Chrome if this is the first time you are connecting your Trezor device.

Then, choose to connect with your Standard Wallet which has no secret passphrase, or the Hidden Wallet by entering your secret pass phase.
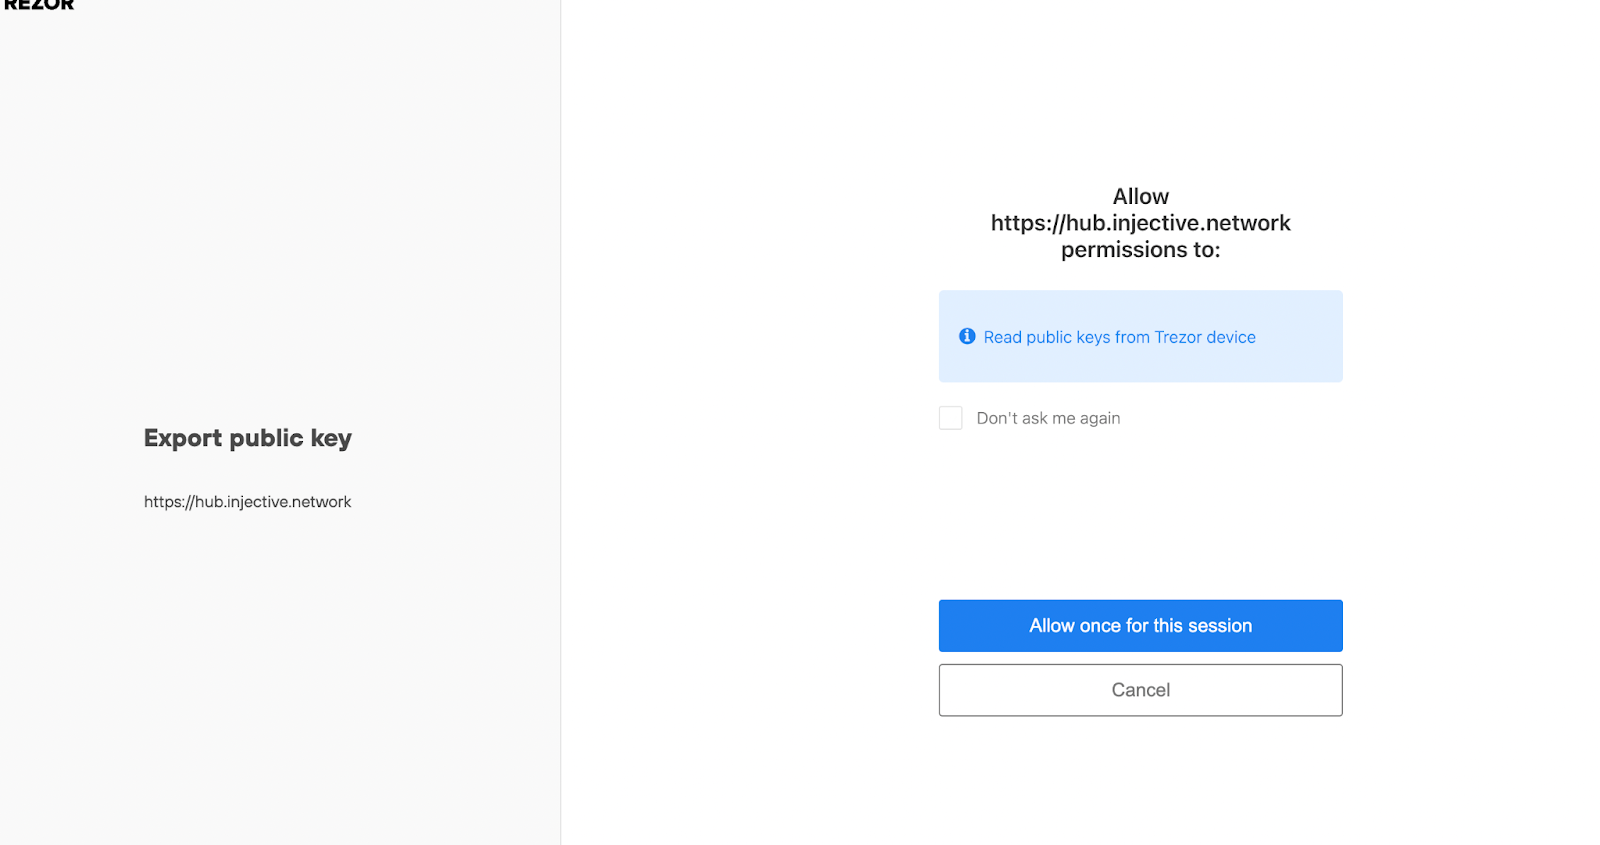
After this is done (i.e connecting your Trezor to the Trezor’s bridge you will be able to connect on the Hub), close this page and go back to the hub and click on “Get Addresses” again and you’ll see the following screen. Click on “Allow once for this Session” and then “Export” the “Standard Wallet” or the “Hidden Wallet” as before.
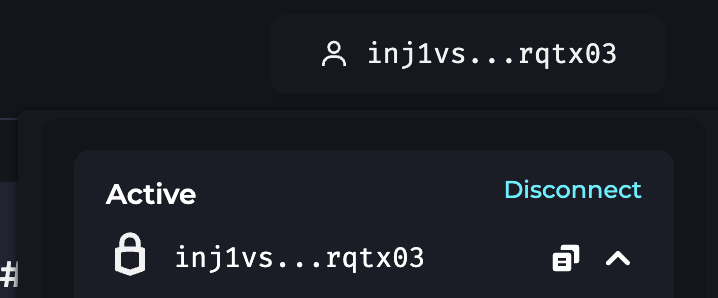
Finally, select your Ethereum address from the dropdown list on the Hub and click “Connect”. You’ll then see that you are connected to the Hub using your Trezor wallet.

Start your Injective journey with your Injective Wallet
Now you are ready to get started with your Injective journey!
- Stake INJ on Injective Hub. Check the guide here.
- Bridge assets from other networks to Injective via Injective Bridge.
- Transfer assets to other Injective wallets on Injective Hub.
- Participate on governance proposal on Injective Hub. Learn more here.
- Participate on weekly auction on Injective Hub. Learn more here.
- Trade cross-chain crypto assets and perpetual markets on Helix. Check the guide here. Explore more featured dApps on Injective here.

About Injective
Injective is a lightning fast interoperable layer one blockchain optimized for building the premier Web3 finance applications. Injective provides developers with powerful plug-and-play modules for creating unmatched dApps. INJ is the native asset that powers Injective and its rapidly growing ecosystem. Injective is incubated by Binance and is backed by prominent investors such as Jump Crypto, Pantera and Mark Cuban.
Website | Telegram | Discord | Blog | Twitter | Youtube | Facebook | LinkedIn | Reddit | Instagram | Orbit Newsletter